
Metallic Mirror DIY Tutorial

New mirror? Check. Pinterest has me itching to update every visual in my life, from my wardrobe to my bedroom, to my hair, to my makeup routine. I started with my room and things sorta took off from there.
Today I'm showing you how I updated one of my favorite mirrors and the difference it makes in my bedroom. I've had this mirror since my freshman year of college. Throughout the years, I've always been a huge fan of the color pink. As of late, I've pulled away from loud colors. It's essential as a girl boss wearing multiple hats to take a break from the noise. My bedroom is my palace and my bed is my throne, so the hot pinks had to go.
WHAT YOU WILL NEED
Mirror
Spray paint
Tape
Newspaper
Outdoor area to paint
Optional: Trash bags
Estimated time: 2 minutes to paint and 2 hours for paint to dry
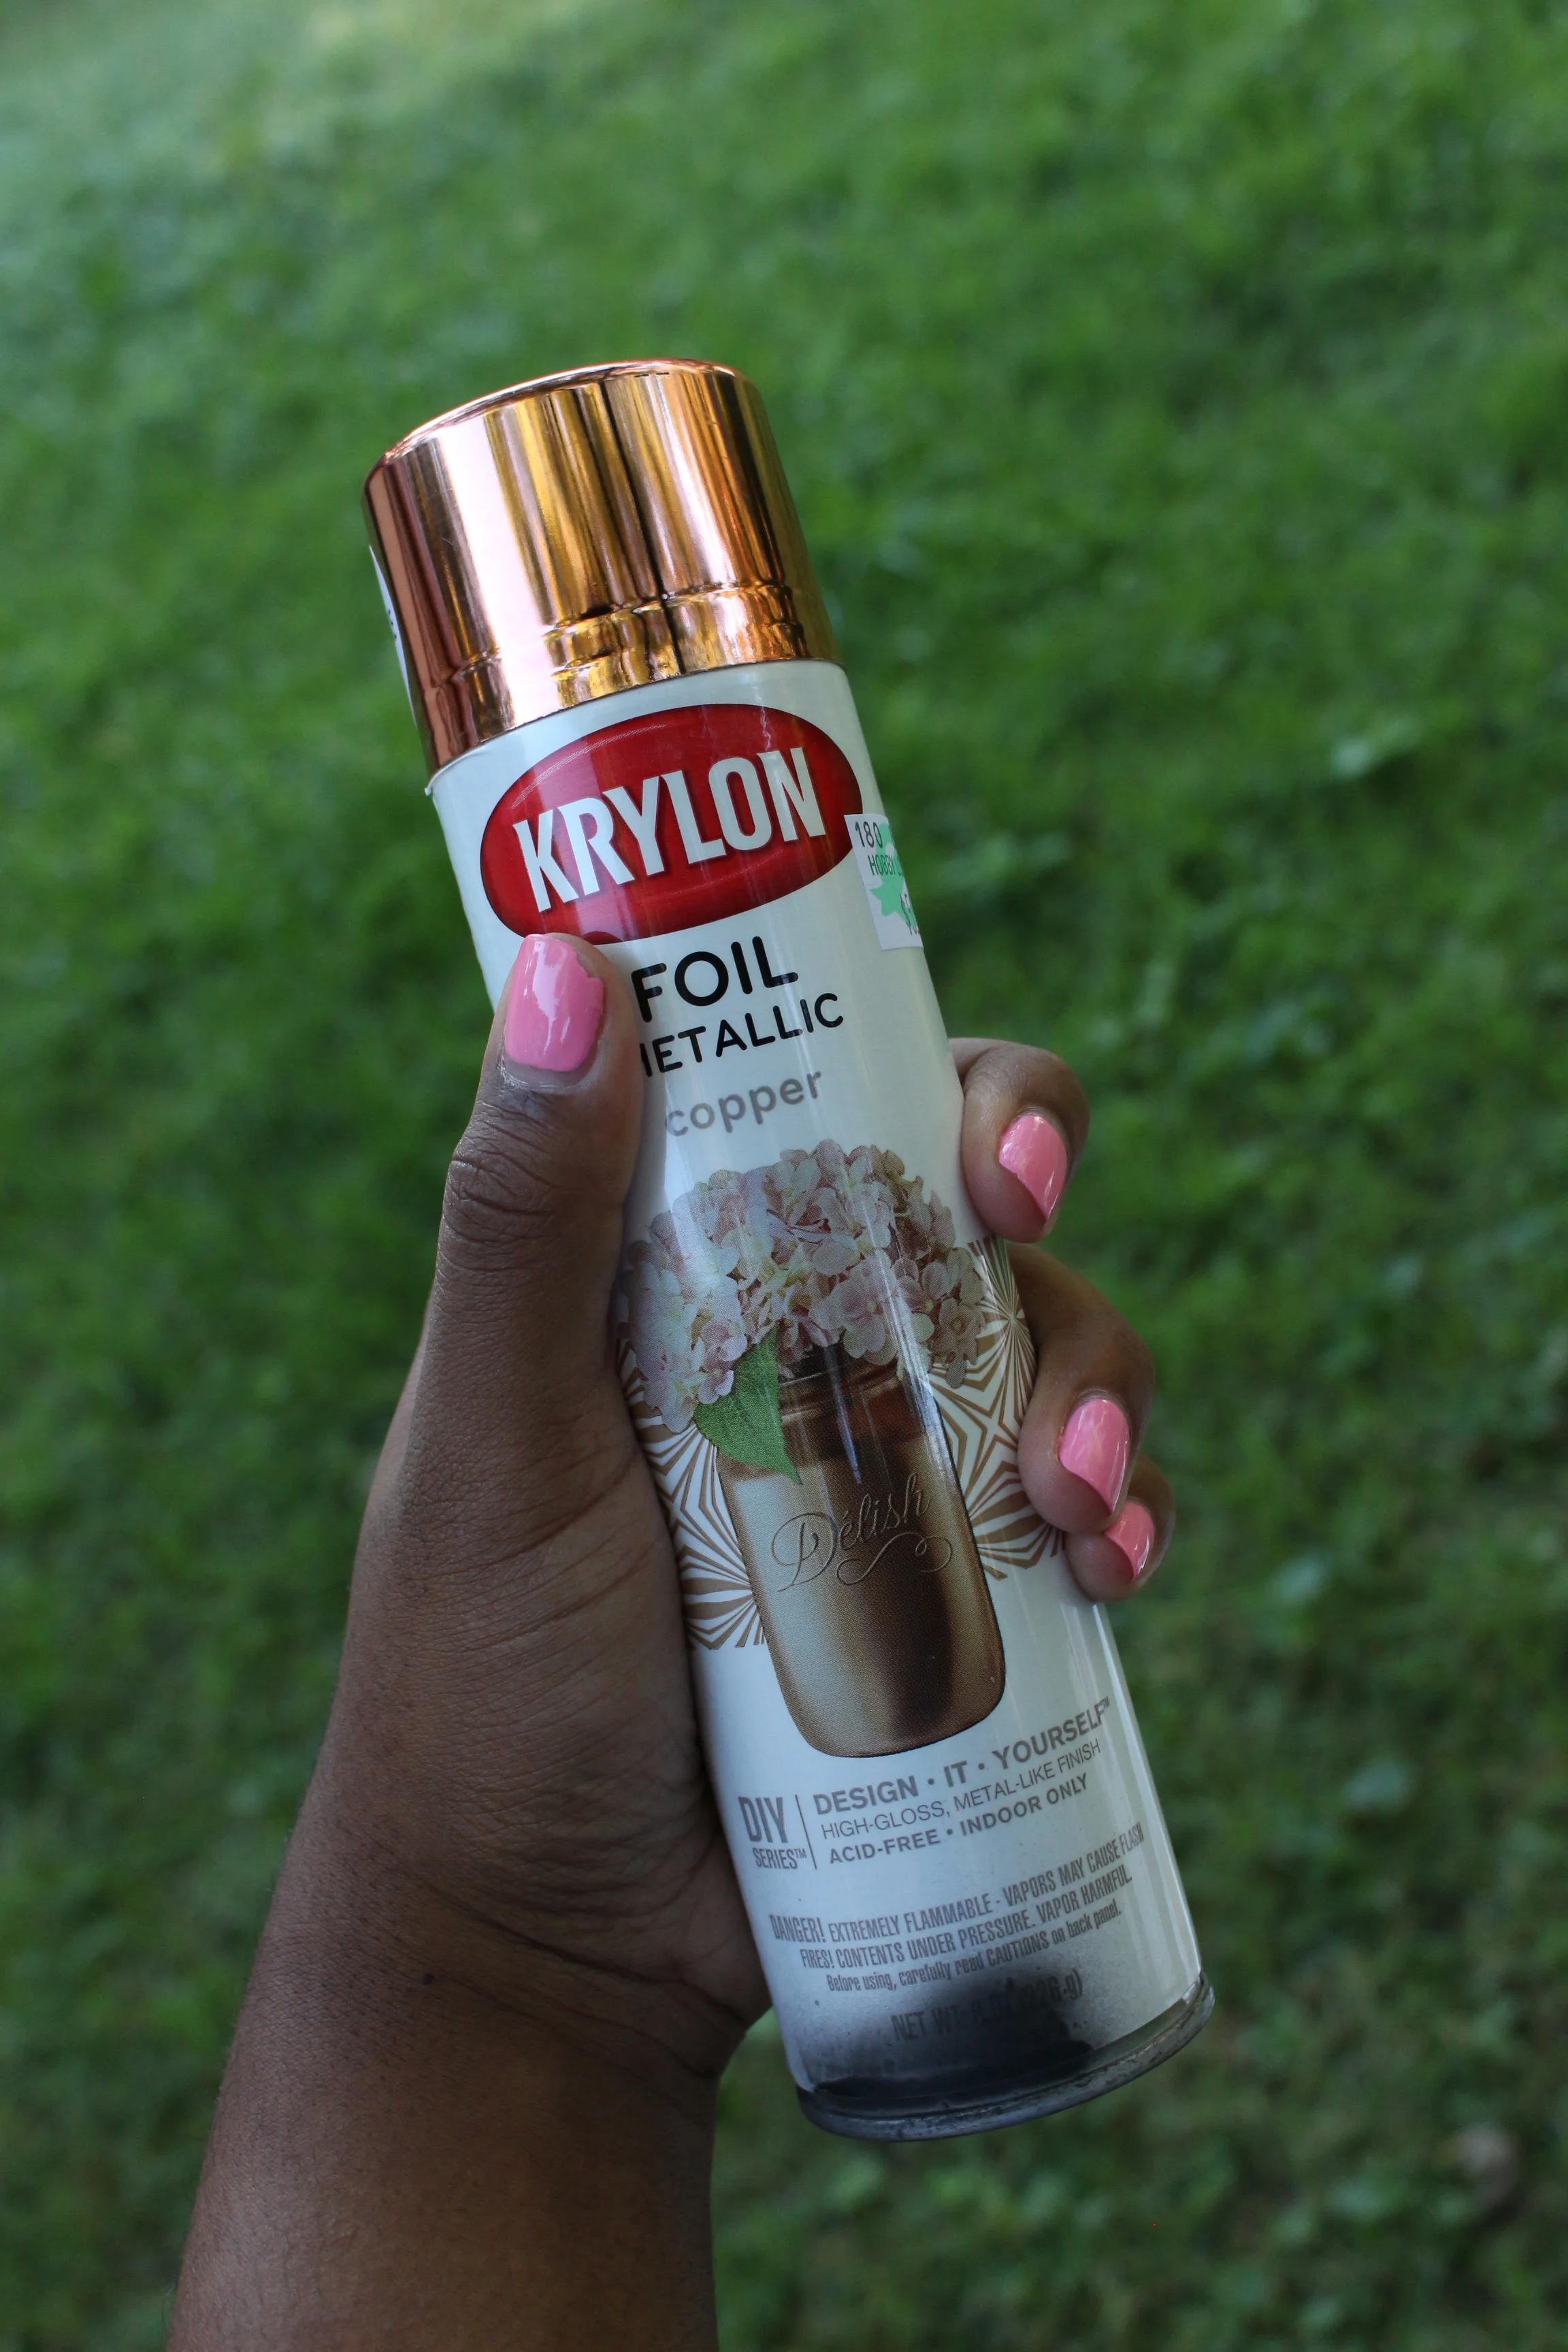
Note: I bought this can of glossy metallic spray paint from Hobby Lobby for $4. Stop sleeping on your DIY dreams and put some respek' on it! Ha.

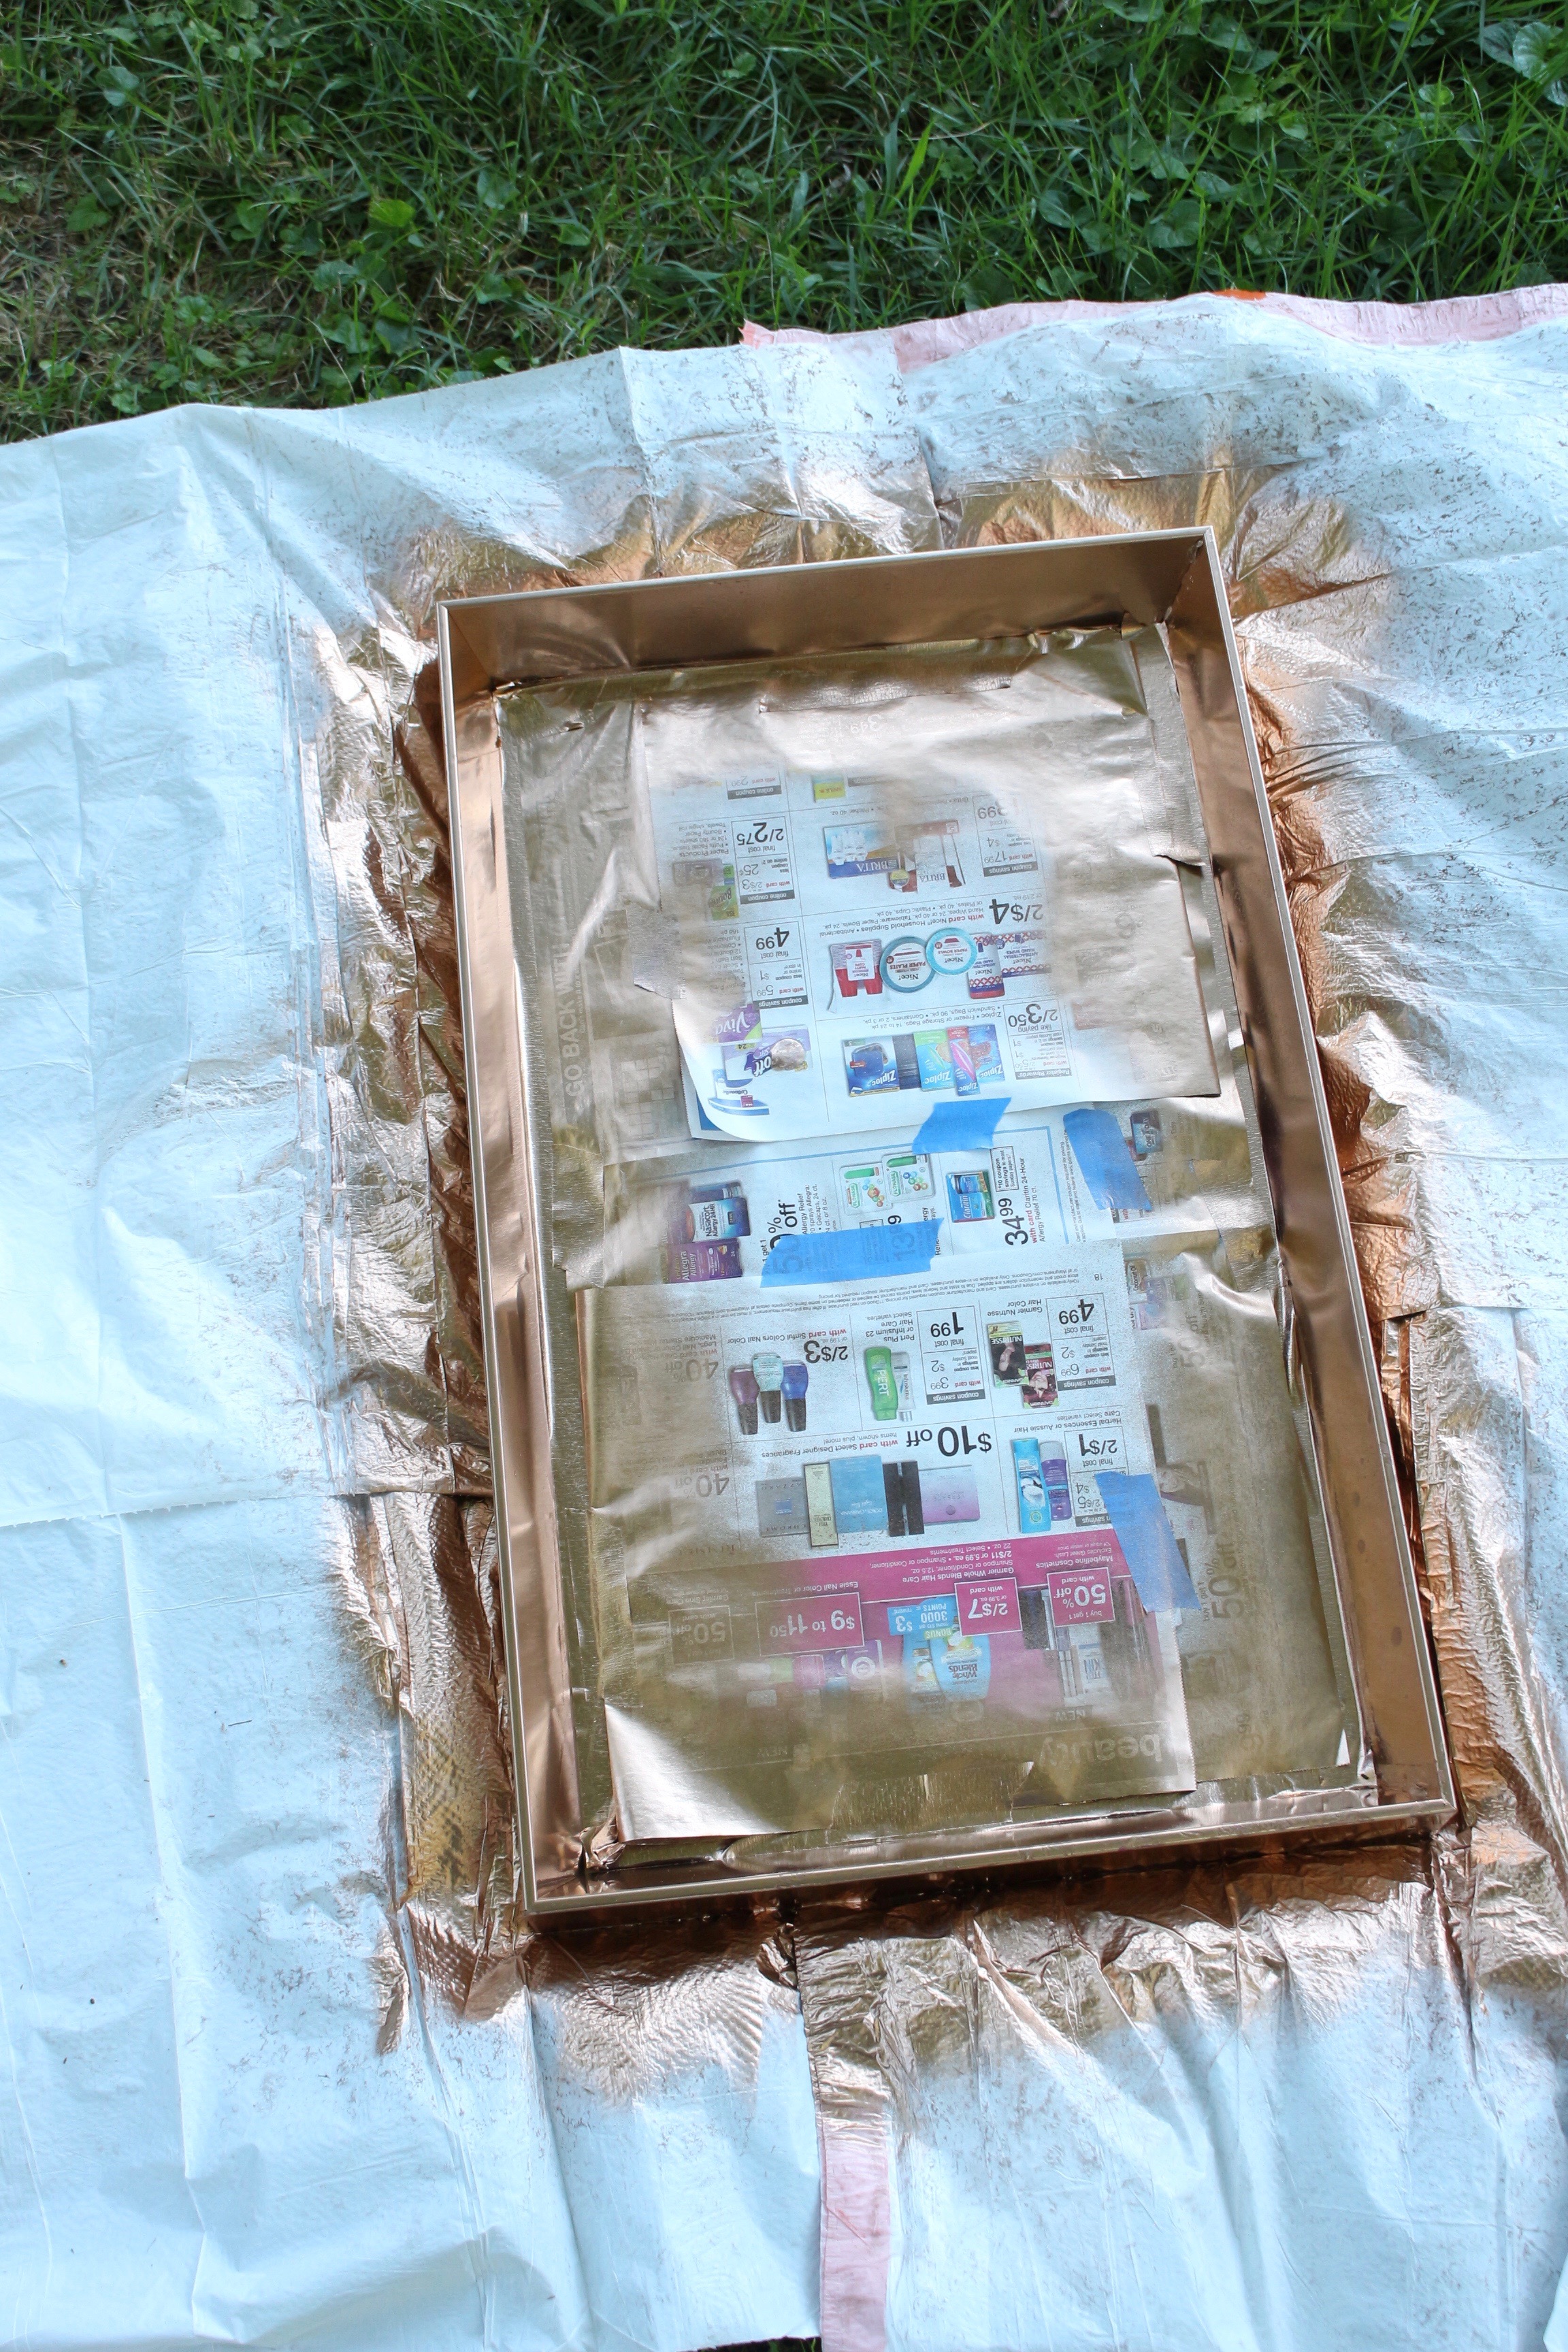
After spray painting, I let the mirror sit outside for an entire day. The spray paint was dry in an hour, but I didn't want any fumes in my bedroom. It's important to give your mirror time to dry and vent. If you can, give it at least 2 hours to dry. I also didn't want any residue from the mirror to end up on my wall.

That's all folks! Did I mention how obsessed I got with the metallic spray paint? I ended up spray painted another mirror, end table and jewelry holder. I'll be sharing more inexpensive DIY tutorials as the months go on. My post grad journey has forced me to be a tad more frugal, so that I can have money to shop like I want to and still pay bills while saving to move out.
Are you thinking of painting anything? Click here to read 8 things you need to know before painting. Be sure to follow me on instagram @thejasminediane. I have a big 3k giveaway coming up!